A friend in my neighborhood decided to start a weekly rotating craft club for our kids. We rotate different skills or activities for the kids to learn, each Mom taking 1 week/month. On my first week, I decided to make an Easter themed craft, a wood bunny Easter basket. I thought it would be fun for them to hammer together a little basket and have fun painting it with their creative ideas. The kids really got creative with their paint colors, very bright and unique.
The wood bunny basket, in it’s natural form…

A couple of the bunny baskets after the kids took over…

Watch the Bunny Basket Video
Please Subscribe
This post contains some affiliate links for your convenience. Click here to read my full disclosure policy.
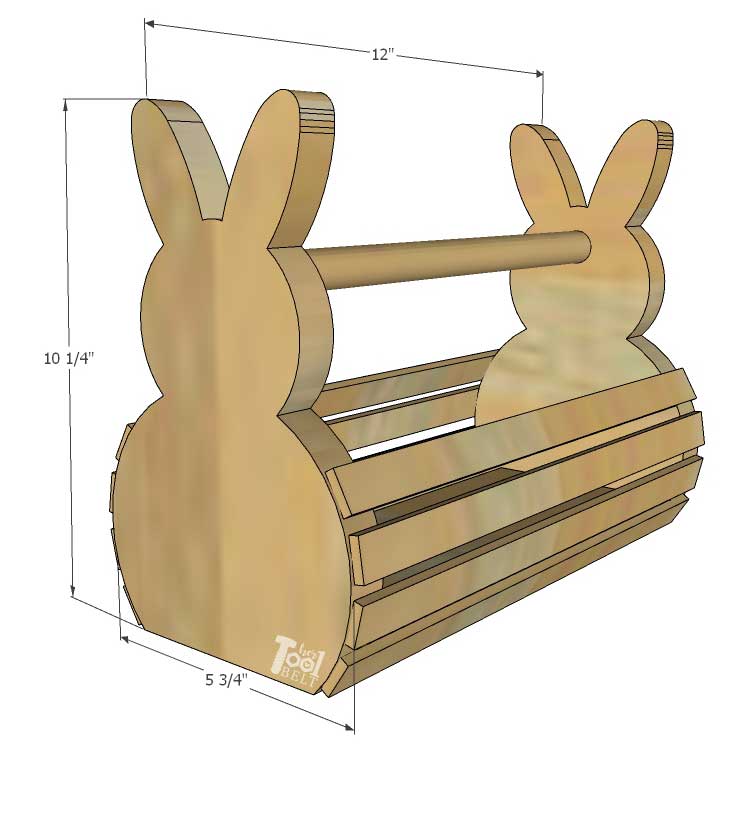
How to Build a Wood Bunny Easter Basket
Materials
- 1 – 1×8 x 8′ board
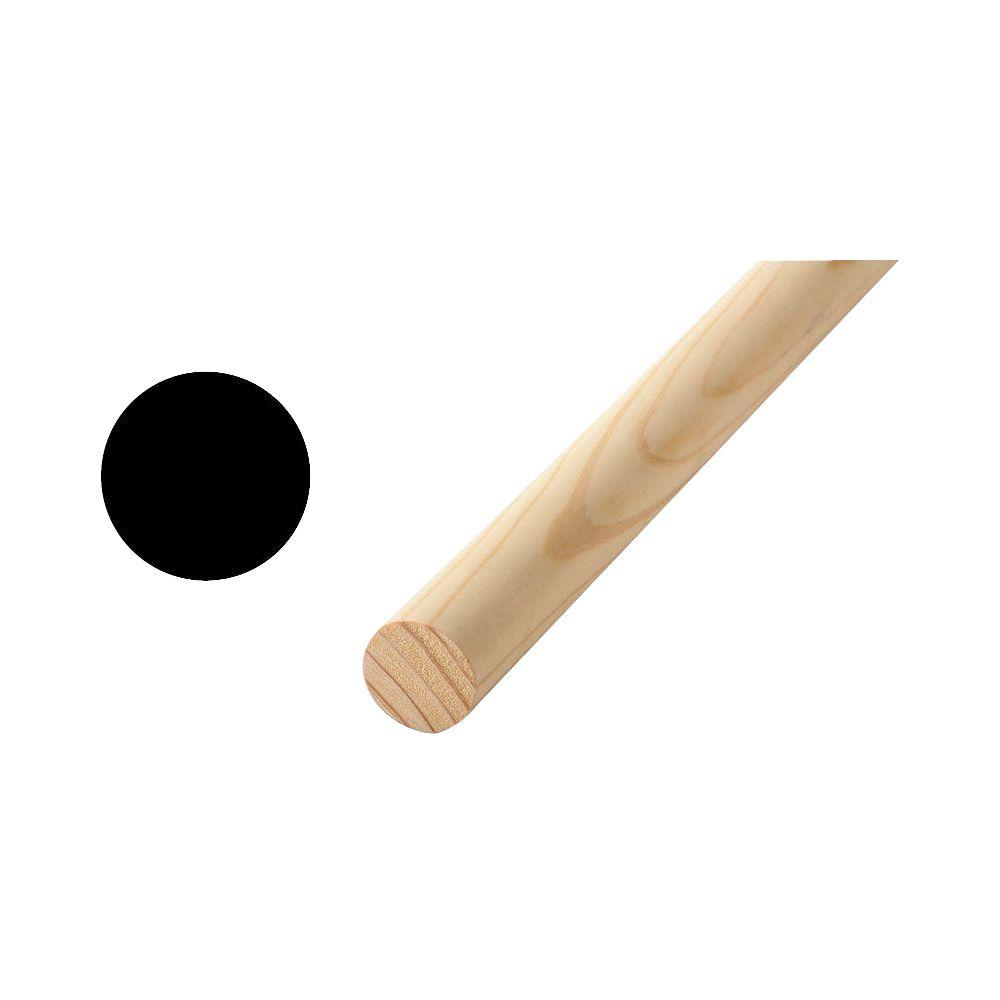
- 1 – 3/4″ round dowel
- scrap wood or lath strips (about 60 cents/strip in store)
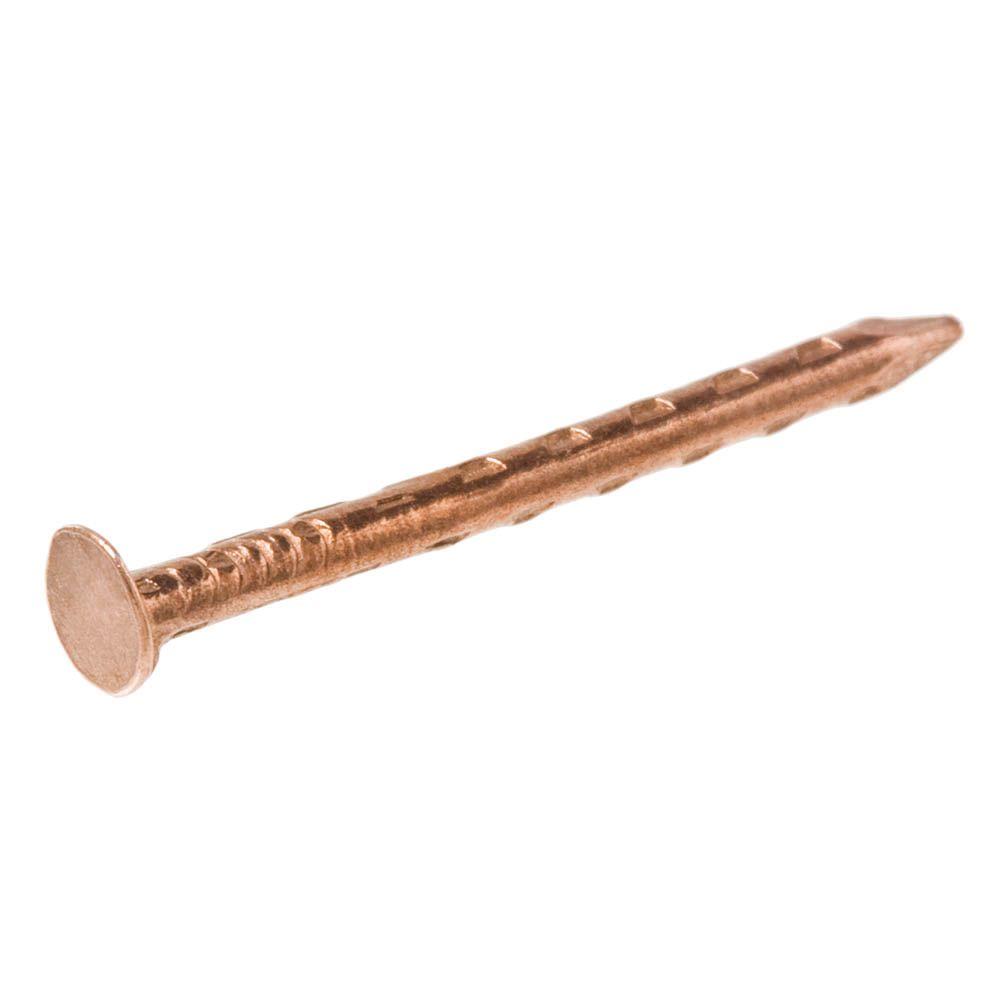
- 1 1/4″ pocket hole screws or 1 1/4″ brad nails
- 3/4″ brad nails or 3/4″ tack nails
- scrap 1/4″ or thinner material – optional bunny details
- sandpaper
- wood glue
Pattern
-
Print Bunny Pattern
- Make sure to print at 100%, not ‘fit to page’.
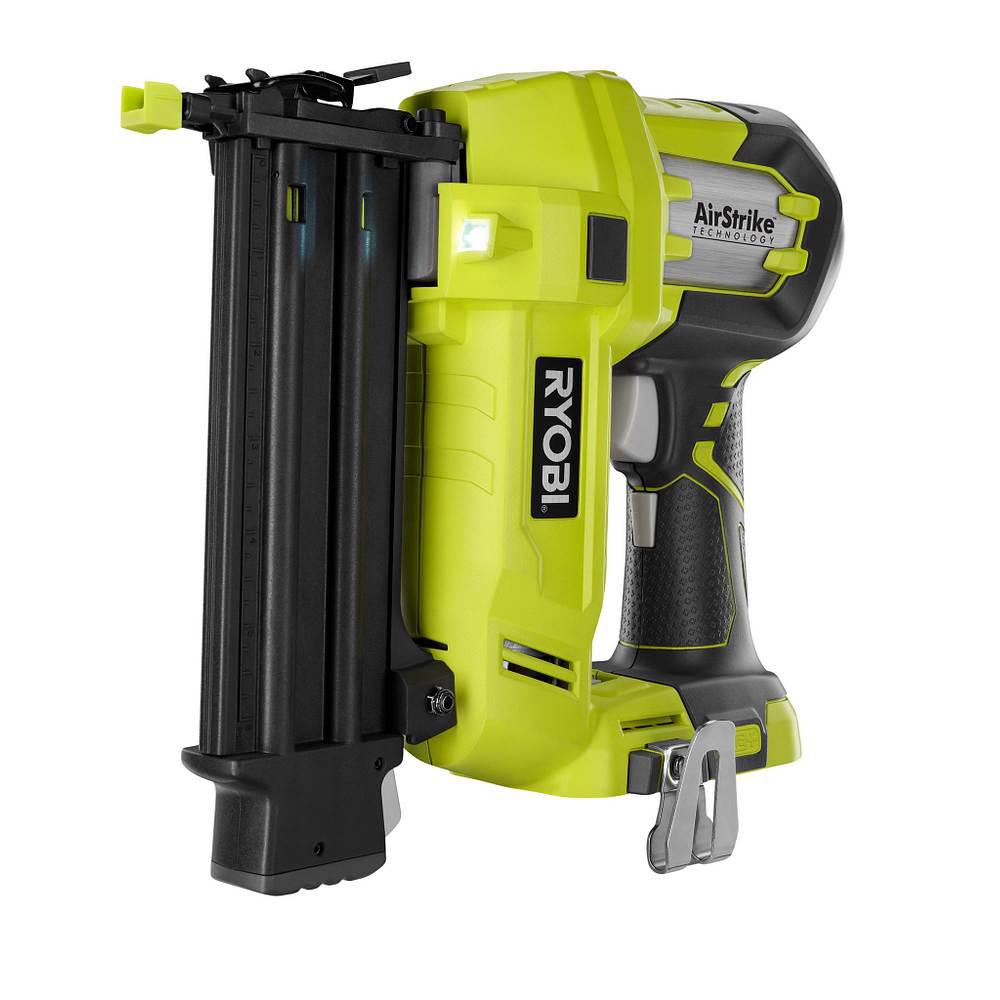
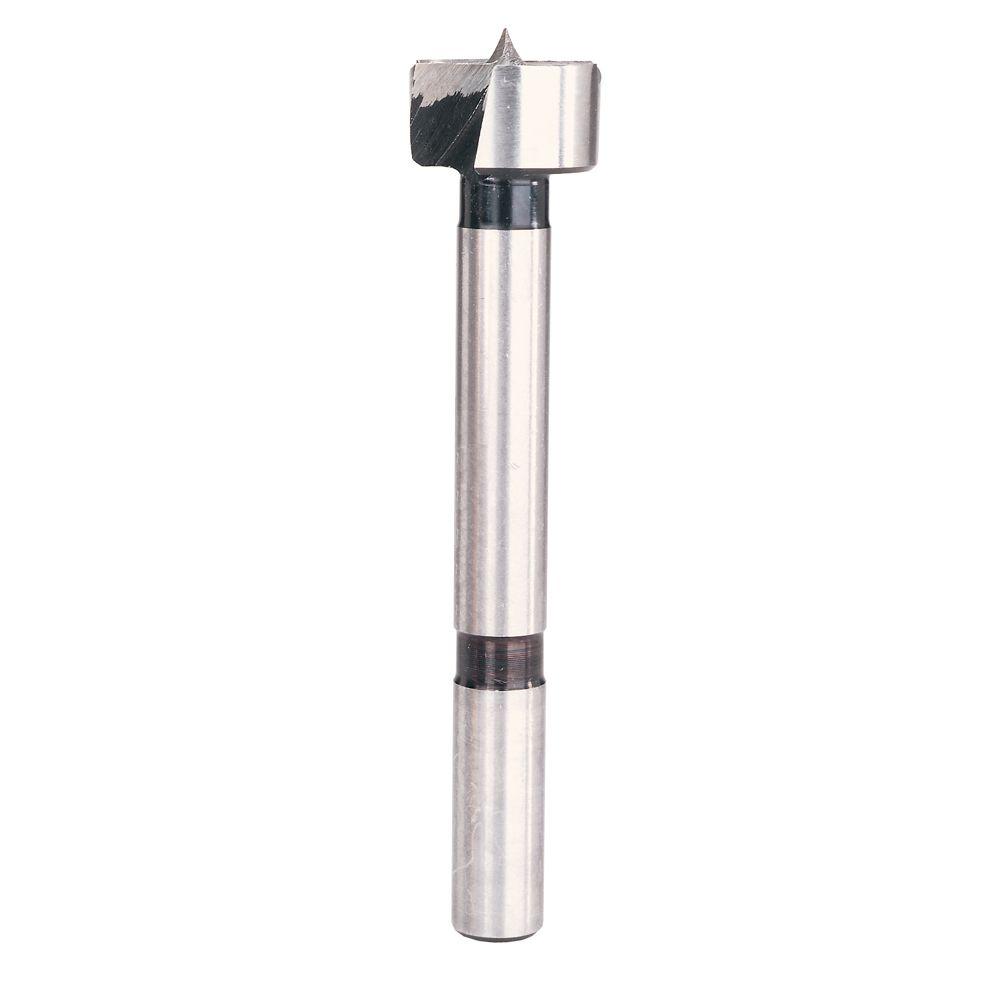
Tools Used
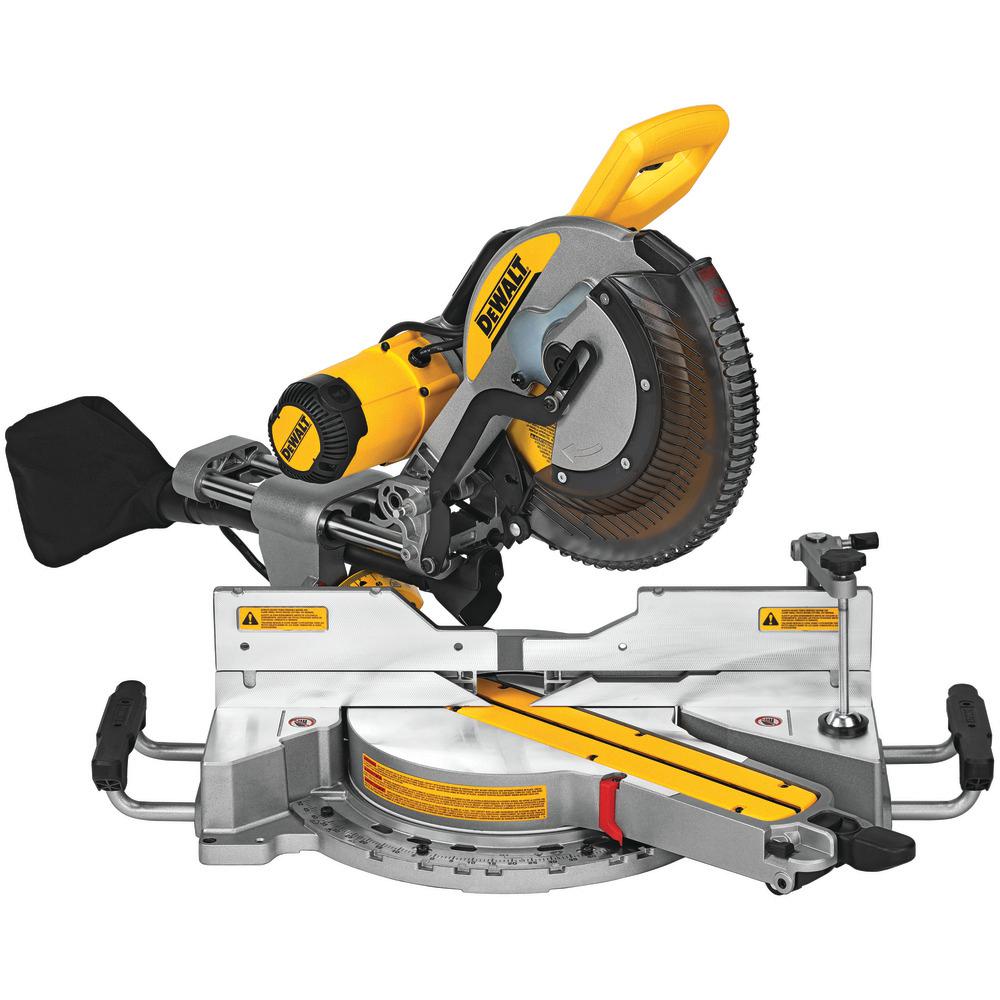
- DeWalt Miter Saw
- DeWalt Scroll saw
- Brad nailer – optional
- Measuring tape
- Hammer – optional
- Pocket hole jig – optional
- Table saw – optional for slats
- Drill
- 3/4″ Drill Bit
- Sander
  |
 |
 |
  |
 |
 |
 |
  |
Cut List
You can make the Wood Bunny Easter Basket as long as you want, the following is for a 12″ long basket.
- 2 – 3/4″ thick Bunny Shapes
- 1 – 3/4″ round dowel” x 11 1/2″ – handle
- 8 – 1/4″ x 3/4″ x 12″ – slats or use lath strips
- 1 – 3/4″ x 4″ x 10 1/2″ – bottom or use more slats or lath strips
Step 1 – Prep
Trace the bunny pattern 2x, make sure to mark the dot for the dowel. Cut out 2 bunny shapes using a scroll saw, jig saw or band saw.

Then sand the edges smooth.

Drill a 3/4″ hole on the dowel mark, about 1/2″ deep. I used a 3/4″ forstner bit. Then I wallowed around the hole a little to give the dowel enough space to slide in easily.
Also cut a 3/4″ round dowel to 11 1/2″ long.

If you want a smooth bottom basket, cut a piece of wood to 4″ wide x 10 1/2″ long. Drill 2 pocket holes for 3/4″ material in both ends. Alternate: Cut 4 or 5 additional slats to nail to the bottom.

Step 2 – Wood Bunny Easter Basket Assembly
If doing the solid bottom
Use wood glue and 1 1/4″ pocket hole screws to attach the 4″x10 1/2″ piece centered and flush with the bottom of the bunny.
Add wood glue and place the 3/4″ dowel in the hole.
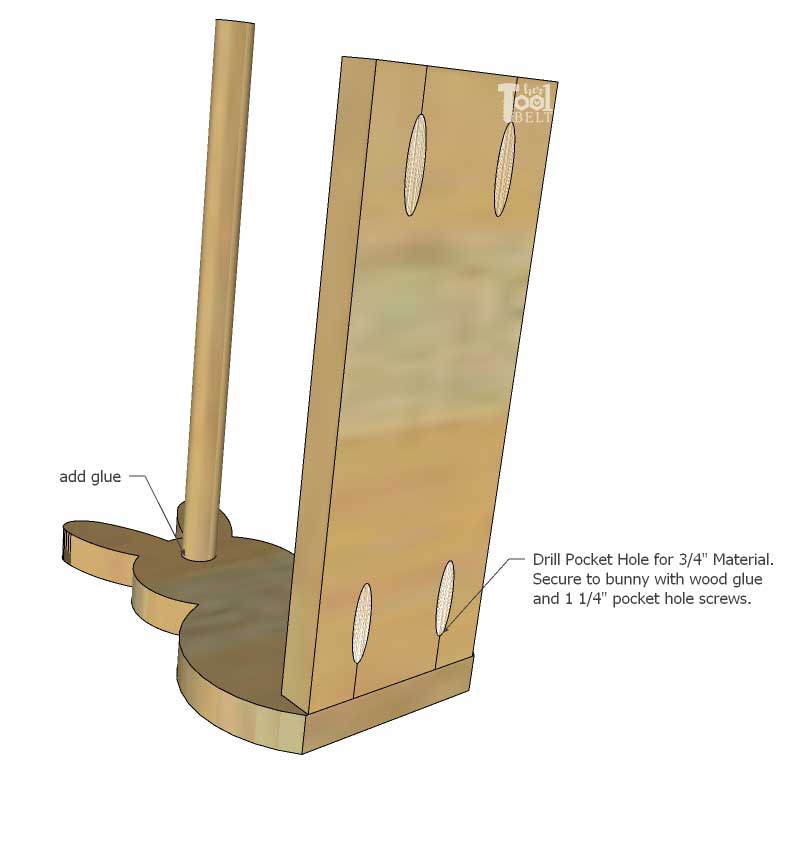

Add wood glue in the other bunny. Secure the opposite bunny with wood glue and 1 1/4″ pocket hole screws.


Measure up about 1/4″ from the bottom of the bunny and secure the first slat with 3/4″ nails.

Attach slats with 3/4″ nails, allowing about 1/4″ between each slat. I used 4 – 3/4″ wide slats on each side. If you use lath, you can adjust the quantity to whatever looks good.
 I used a 1/4″ piece of scrap wood for a spacer between slats.


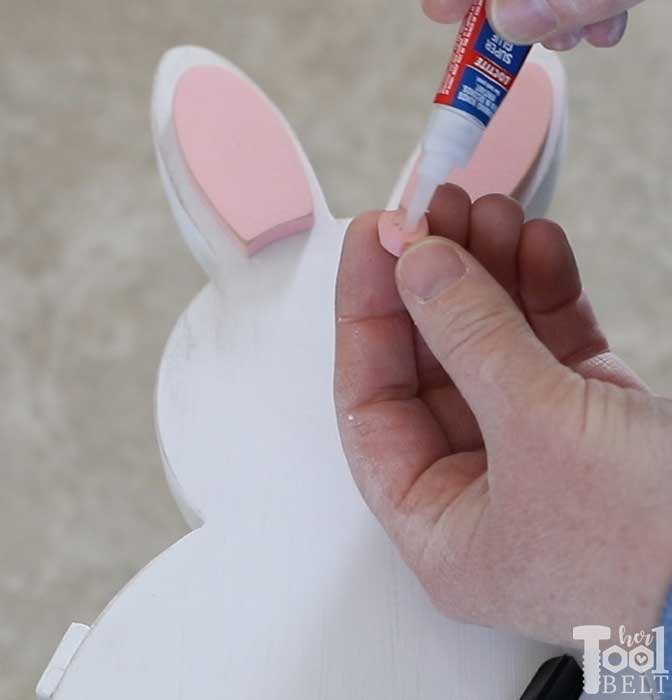
Step 3 – Bunny Details
If you want to add some of the bunny pop out details, cut out the ears and nose from 1/4″ or thinner scrap material.

Sand the edges smooth. Then paint the details and let dry. Once the details are dry, glue them onto the ears and face with super glue.
Step 4 Finish
Fill nail holes and blemishes with wood filler and allow to dry. Sand the wood bunny basket smooth with 120 grit or finer sandpaper. Paint or stain the wood bunny basket as desired.

Thanks for pinning!


The post Wood Bunny Easter Basket appeared first on Her Tool Belt.


